


🚀 Elevate Your 3D Printing Game!
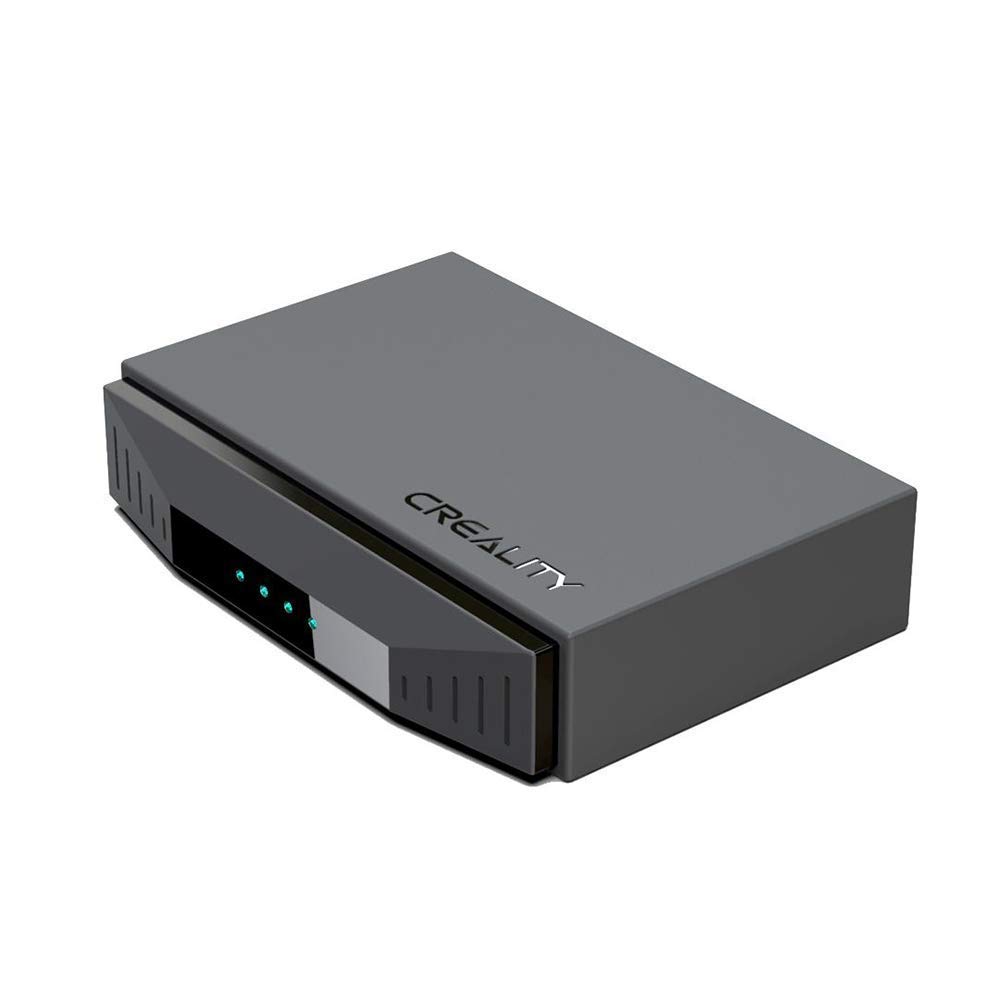
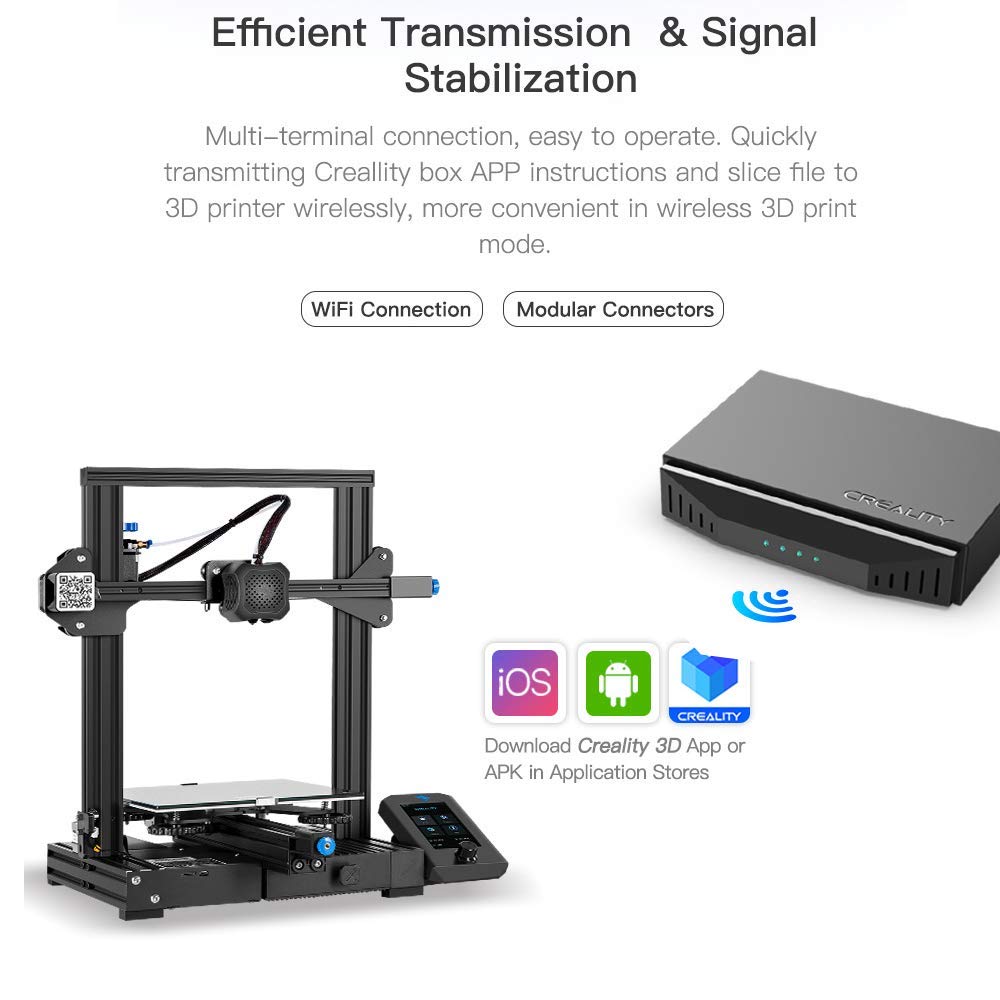
The Creality WiFi Box is a compact and intelligent assistant designed for 3D printers, enabling seamless wireless control, real-time monitoring, and collaborative printing through the Creative Cloud APP. Compatible with various 3D printer models, it offers a user-friendly experience for both novice and experienced makers.
| Brand | 3 idea Imagine Create Print |
| Manufacturer | Creality 3D, Creality, Shehzhen creality 3d Technology Co.Ltd. 18F JinXiuHongDu building meilong blvd longhua dist china 518131 |
| Model | Creality Wifi Box |
| Model Name | Creality Wifi Box |
| Product Dimensions | 9 x 6.4 x 2 cm; 60 Grams |
| Item model number | Creality Wifi Box |
| Operating System | Windows 7 |
| Printing Technology | FDM |
| Compatible Devices | Smartphone |
| Mounting Hardware | Creality Wifi Box |
| Number of items | 1 |
| Voltage | 5 Volts |
| Batteries Included | No |
| Batteries Required | No |
| Connector Type | Wi-Fi, USB |
| Material | Plastic |
| Includes Rechargeable Battery | No |
| Manufacturer | Creality 3D |
| Country of Origin | China |
| Item Weight | 60 g |
A**P
Awesome 3D Printer for beginner-amateur level. Thanks 3Idea Imagine!!!
The media could not be loaded. Perfect DIY printer for the enthusiast/amateur. I've been watching how-to videos for assembling most of these creality printers, and this wasn't any different. Took some 90 minutes to assemble the whole and got it working in minutes.The first print came out really good, except that the print came off the bed, turning everything into a mess 😢. So, I have increased the rafting and increased the bed temperature to 70 for the first few layers. I've also used some adhesives(glue stick) to enable the print to stick better on to the bed. This resolved the issue of print not sticking to the bed during printing. Whatever glue or adhesivebyou might want to use is fine, because the carborundum glass bed is easy to clean.The Creality Ender 3 v2 is an awesome printer to start on your 3d printing journey. The meanwell power supply(24v) let's the printer work smoothly and keeps it running with enough juice for the steppers and the heaters.The carborundum glass bed is just awesome! Might not be a good holder for the print, but a little adhesives and the right temperatures during initial raft layers will resolve the non-sticking bed issue.Creality Ender 3 v2 is much silent than its elder brothers(Ender 3 and Ender 3 pro). The belt tensioners, extra tool tray, are all great additions for the Creality Ender 3 v2 alone. Print quality is super awesome, and there wasn't any threading even on my first print.I love this printer, it's a real value-add into my DIY tools and have not added any upgrades so far.Much recommended for an amateur if the price is between ₹23k and ₹25k. I've first thought of buying the CR-6 SE, which also has trinomic power supply and dual Z-axis lead screw traction, but other than these 2 additions, the CR-6 SE is same as the Creality Ender 3 v2.The test print 3D Benchie came out perfect without any bridging issues, and I've also printed a robot end effector(servo driven) out of the 300gms white filament supplied with the printer. The printer can print from PLA, PETG and TPU(slow) without much upgrades.
A**R
Components didn’t delivered
The seller only gives the sensor, Mounting brackets and other components missing in the package. Without the mounting bracket won’t be able to fix….
S**E
I am happy with my purchase.
After using it for one month here are some key points:Pros:1. I would say print quality is superb (if I compare other printers in this price range)2. It works great with ABS, PETG and ABS. Not great but decent print quality for material like TPU( adjust your slicer settings for better print quality)3. Very silent printer.4. User friendly display.5. Sturdy frame. Though my Z axis has little movement (very small) when I apply pressure intensionally. This is because this printer has only one lead screw on Z axis.6. Loading/unloading of filament is simple.Cons:1. I found default bed doesn't provide good adhesion. So I flipped it and it has smooth glass texture at the back. Prints stick perfect on this surface (recommend). Also clean the bed surface area with alcohol every time.2. Bed leveling springs are of poor quality. You can replace them with good one otherwise check your bed leveling once in a while.3. If your Power goes off in the middle of the printing, you can use Resume Print feature. But the problem is it repeats the last layer from start and continue further.Also sometimes nozzle sticks to your print due to clogging and displaces prints from the bed resulting is failed print. So I suggest run this printer over Inverter or use UPS.Overall this is very good printer and I am happy with my purchase.
M**A
Worth the money.
The product comes in a kit form and you'll have to assemble yourself so it isn't for the faint of heart. Since I'd already read couple of reviews, I was mentally prepared for it and Ender 3 being a popular 3D printer, there are lots of assembly videos out there on YouTube. Still it took me around 2 hours to fully assemble it and start leveling.You'll not need need any additional tools. All the necessary tools are already provided in the kit including some test filament as well and extra screws. Better order an additional filament spool as you would not want to wait for it to arrive once everything is ready.The print quality is acceptable on standard quality and I haven't tried highest quality yet because it will take ages and I lack patience for it. The motherboard and motors are absolutely silent. My inkjet makes more noise than that. The glass surface is great as the print adheres to it properly but it takes some effort to remove the print from it.The only problem I encountered was with the Z axis end stop (picture attached). Normally you attach it by aligning the notch with base but it didn't work for me because the printing surface would then hit the Y-axis motor in the back. Probably manufacturing defect or some tolerance issue. I resolved it by attaching the stop little bit higher so that the printing surface would leave some space with Y axis motor. That said and with some experimenting on leveling, the printer is good to go.One final thing, in my experience, the print quality at 100% speed is just too bad. Reducing the speed to 50% (hence doubling print time) gives you the best results.Some gotchas: Since this model does not have automatic bed levelling, you'll have to manually level the surface each time before the print. I do recommend getting a 3d touch/CR touch automatic automatic bed levelling sensor to avoid this hassle.All in all it's a great entry level, beginner friendly 3d printer which is absolutely silent and works as expected.
P**S
Exelente artículo pero revisa tu versión de tarjeta madre
Tengo la ender 3-pro dese hace un par de años, ha funcionado bien pero me dio por conseguir nuevas cosas para mejorar su rendimiento. Compré este nivelador automático e investigando un poco me dí cuenta de que la versión de mi tarjeta madre es V.1.1.4, seguro en el manual viene esa información, o puedes abrir la tarjeta madre quitando los 3 tornillos de abajo y uno de arriba (es en la que metes la micro-USB) y una vez abierta puedes ver la versión de tu tarjeta al lado del logo de Creality.Ya con la nueva tarjeta instalada funciona de maravilla y es muy fácil de instalar ( con algún video en línea)
K**R
Great results, if you do EVERYTHING properly
The physical installation was simple enough. The video guide posted here was very good, and it only took a few screws (and a relatively scary plug pull) to install. You do have to unplug your Z-axis limit switch from the board to install this thing, and unfortunately it's hot-glued on most units. The best way I found to remove it was to gently pry it from both sides to wriggle it loose carefully.One thing they don't tell you, however, is to make ABSOLUTELY SURE of your particular motherboard's model number/version. There is no way to determine this from outside of your printer or in your menus, only by looking at your actual board. I would recommend taking several very clear pictures of your board, while installing the data cable. This is crucial, as you need it, in order to install the correct drivers. Fortunately, installing drivers is piss easy, with the SD card and adapter that comes with your printer, and incorrect drivers *shouldn't* brick your printer. If you install the wrong version, the printer will still work, and it will still *attempt* to auto level, but it will not actually commit the leveling data (mesh) to memory, and your results will really suck, no matter what you do. You'll also need to modify your G-code in order to tell your slicing software (Ie: Cura) to do a fresh auto level before every print. It only adds a few minutes to each print. Search around for good G-code instructions, and simply copy-paste them into your printer settings in Cura. They'll save automatically (be sure to copy the old instructions to a notepad file, and save them somewhere you won't lose them, such as the folder you store your STL files in)This also doesn't exempt you from leveling your bed, ever again, BUT it does help significantly with warped beds, and the like. Plus, you won't need to level your bed NEARLY as often.Setting your Z-axis offset takes some getting used to, but don't give up! Watch a few videos concerning the subject, and run a series of bed level calibration prints, until you get satisfactory results. Once it's set correctly (of course, don't forget to preheat your bed) you should be able to get serious improvements, especially on prints that take up a large area on your build plate.It takes a bit of work, and can be a little frustrating to set up, but if you go into the process willing to research, take your time, and learn, your printer will be significantly better for it!
A**R
Works extremely well... the instructions don’t!
This was installed on an Ender 5 Pro with the newest main board in it. It has the connector for this built into it. You need only remove your “Z home” sensor and plug this into the main board and download a small script file that modifies the firmware on your main board and you are ready to go!It’s quite easy to do and follow the instructions... IF you can actually see the instructions. They are printed on such a small fold out piece of paper that they are truly difficult to read. The font is really too small to read. I can see where people mess up the installations because on not being ABLE to read the instructions properly. PRO TIP... Download the instructions in PDF so you can read them. Soooo much easier and you won’t skip that hidden step. It’s quality paper they’ve used and quality printing in color but SOOOOOOO small. Unprofessional.As far as working... This does an incredible job. It provided clearly much much better printing results the very first time I used it. It is worth its weight in gold! You will not be disappointed.Creality.... get your head out of the sand and redo your manual!!!!
D**E
Reliable And Solid 3D Printer
I have had the Ender 5 Pro for two years and I am extremely happy with it.I was very careful when I constructed my printer from the parts provided and it has been an excellent printer in return.I have printed many useful items. (Some free object files and some of my own design) The quality and utility of printed items has been top notch.A 3D printer is not a Star Trek Replicator and takes some time and skill to master (i always print PLA on a 220C bed with a 60C nozzle temp) but once you have it down you can use free slicers and toss them on your Ender 5 Pro with confidence. Great Printer!!!
J**S
Comparatively massive build platform.
The media could not be loaded. Experienced user recommended. Great product. This machine is pretty big compared to my small monoprice. No problems setting up. Booklet/Guide is a bit vague in detail. First prints have turned out great. Some minor adjustments had to be made for belt alignments as expected after bouncing around inside a box through shipping. Build platform size was my selling point. 350x350x400mm. One negative point on the cable releif for the heated bed these hanging wires will one day cause trouble. It will have to print its own fix.
Trustpilot
5 days ago
1 day ago